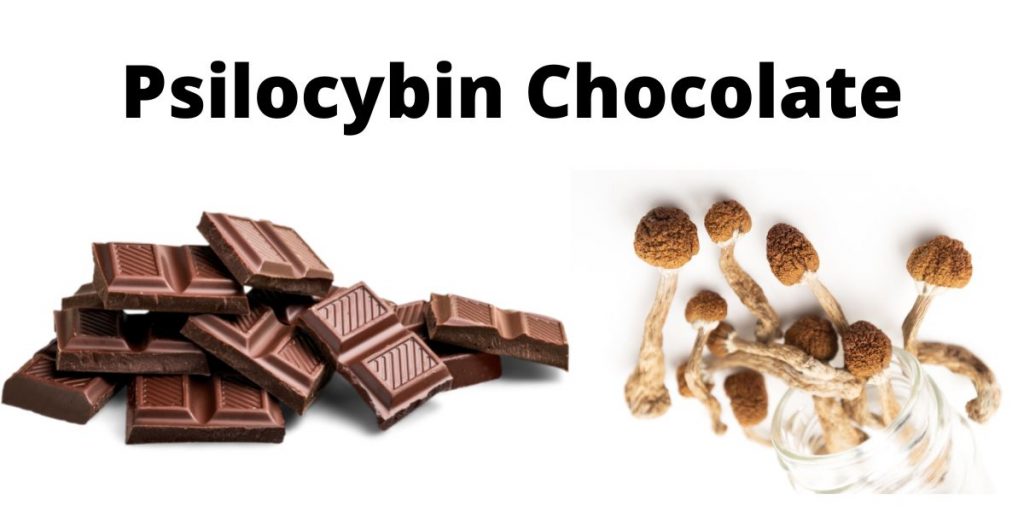
Psilocybin mushrooms are almost no one’s idea of yummy. Chocolate is almost everyone’s idea of yummy. It stands to reason, then, that mixing mushrooms in with chocolate should make packing for a trip into the up-and-out much more enjoyable. There are lots of foods that can be mixed with mushrooms or mushroom tea, but chocolate has several advantages, one of them being that it has an extremely dominant taste. That is, chocolate is on a short list of flavors that are unusually good at covering things up.
But while mixing mushrooms with chocolate is relatively easy, making a high-quality, attractive product is a little trickier—not necessarily hard, but there is a learning curve, and steps to take that are not necessarily obvious. The bottom line is that while mixing chocolate with mushrooms will improve the mushrooms pretty much no matter what (provided you don’t overheat the psilocybin or loose track of dosing information), it’s much better to go the extra step and make good candy or gummies.
It’s worth noting that not everybody reacts well to chocolate. There are anecdotal reports of mood alteration and even mild cognitive impairment (basically, people getting stoned, though not pleasantly) after eating chocolate, possibly as a result of unusual sensitivity. No, we’re not citing a source one this, we know it from personal experience as one of us had to give up chocolate. Persons who suspect themselves of having this problem probably shouldn’t complicate it by mixing chocolate with psilocybin.
Anyway, let’s discuss chocolate-making, shall we?[i][ii][iii][iv]
Pros & Cons of Psilocybin Chocolate
Magic Mushroom chocolate isn’t always a good thing. Part of that is that psilocybin use isn’t always a good thing. It’s illegal to use or possess in most jurisdictions, and penalties can be severe, so users have to weight their legal risk and understand the laws and policies in their area. Also, while psilocybin use is relatively safe as mind-altering activities go, it is not risk-free. We have written about those risks and how to mitigate them in other articles, but let us just point out that those risks don’t go away in the presence of chocolate (though that would be nice).
Then there are potential problems associated with magic mushroom chocolate specifically.
- Mixing psilocybin into food complicates dosing, since mistakes in the preparation process could lead to individual servings being much more potent, or much less potent than expected—or, worse, a batch could have both over-powered and under-powered candies in it. Avoiding these problems requires an attention to detail not everybody is really up for.
- The effects of psilocybin don’t come on instantly, so there is a period of time when you have eaten a chocolate and nothing has happened yet…and you want more chocolate. A sweet tooth could easily lead to an overdose, something that isn’t a concern when munching mushrooms plain.
- There is no way to tell from looking at a chocolate that it contains psilocybin. If a child, or even an unsuspecting adult, got a hold of your magic chocolates, the results could be tragic.
But all that being said, magic mushroom chocolates are a popular option, with good reason.
- Chocolates are a discrete way to store and transport psilocybin.
- If the chocolates have been made properly, then each one has the same amount of psilocybin in it, and dosing is easy. Just take the right number of chocolates for the kind of trip you want.
- Chocolate is delicious.
How to Make Magic Mushroom Chocolate
The basic procedure here is to melt chocolate, mix powdered mushroom into it, then pour it into molds to solidify into individual chocolates, then pop them out and store them until they’re wanted. Wrapping the individual chocolates in colored foil or paper is a nice touch, especially if you plan on distributing them to others. But there are a couple of tricky points.
The first is that you need to figure out how powerful you want each chocolate to be. Some people want an individual chocolate to be strong—then, people who want a less-powerful trip can eat half a chocolate. Our feeling, however, is that nobody wants to eat only half a chocolate, and that if you want a strong trip, you can enjoy two chocolates to get there. You can, of course, alter that part of the recipe. However much mushroom you want each piece to have times the number of pieces you want to make is how much mushroom you put in the chocolate. But there is a catch.
The more mushroom there is in the chocolate, the more likely you are to end up with an unpleasant texture to cope with. So for the following recipe, if you want to add more than about a gram more mushroom per chocolate, we suggest that you instead switch to a more potent species of mushroom.
Second, to have good texture and a nice sheen, the chocolate must be tempered. That means raising part of the batch to a precise temperature and letting it partially cool before moving on to the next step. The procedure is included in the instructions below, but it is not included in many chocolate recipes. So if you’ve found a recipe that looks simpler, that may be why—it’s missing tempering. Without this step, chocolate will be good, but not great. If you let your chocolate solidify after tempering and want to re-melt it for whatever reason, you’ll have to re-temper it.
Finally heat seems to degrade psilocybin, but there is no definitive data on what temperature causes problems or how much of the psilocybin will degrade how quickly. By adding the mushroom only after the chocolate has been tempered and begun to cool, you should be able to protect your psilocybin just fine, but there are people who don’t take that precaution and still get good results. So see what happens and take good notes.
What You Need
Click add to cart to add all materials needed.
Header | ||||
|---|---|---|---|---|
Click add to cart to add all materials needed.
Materials Needed
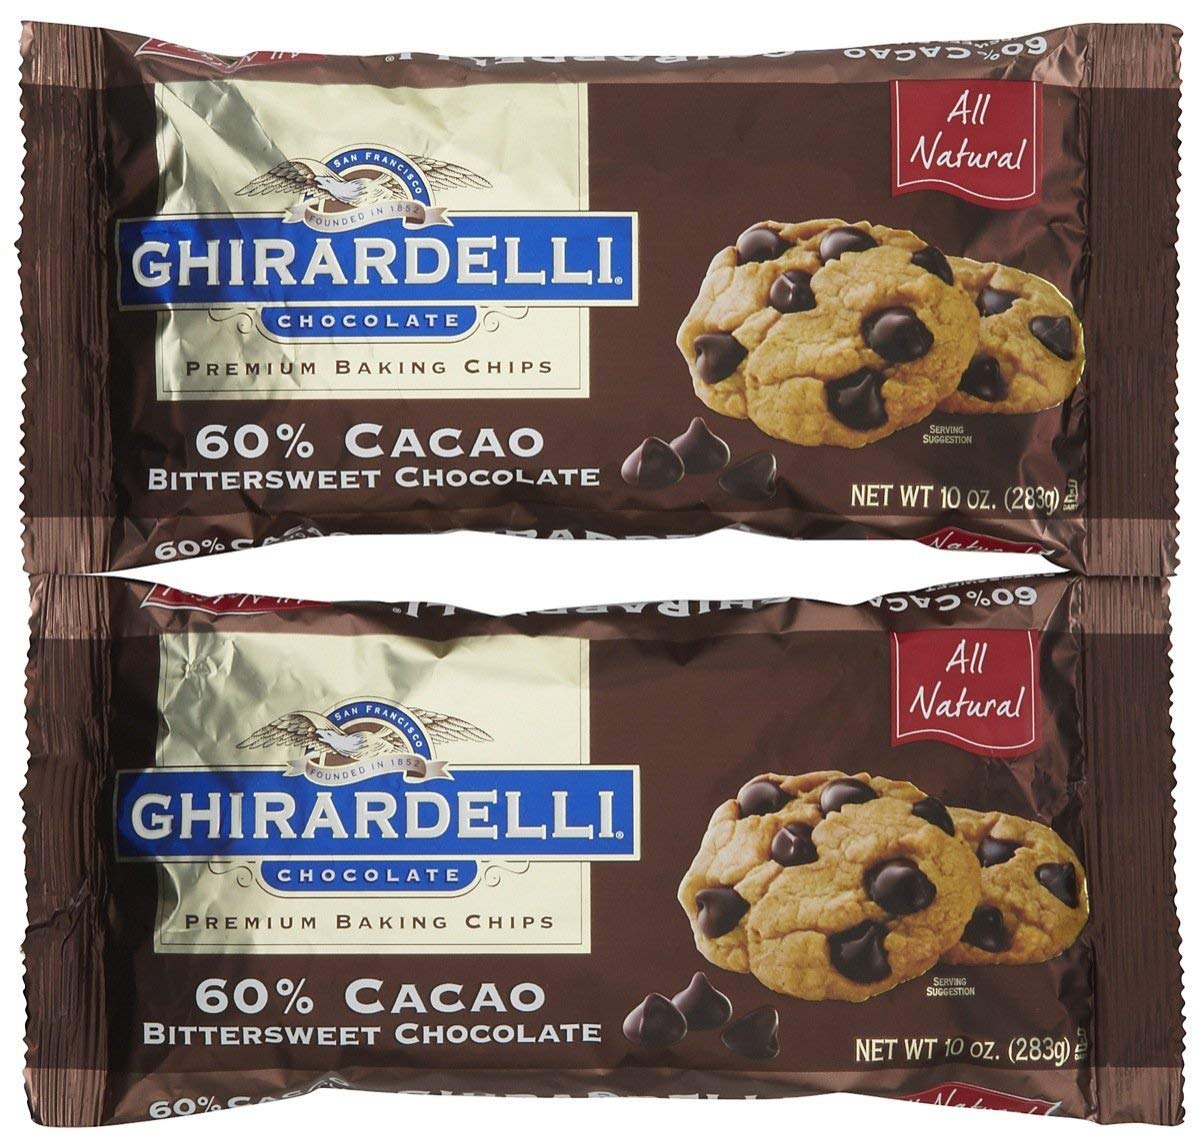
- 1 ½ to 2 pounds of dark chocolate chips. Smaller amounts are harder to temper. If you want milk chocolate, the temperatures involved in tempering will be a little different.
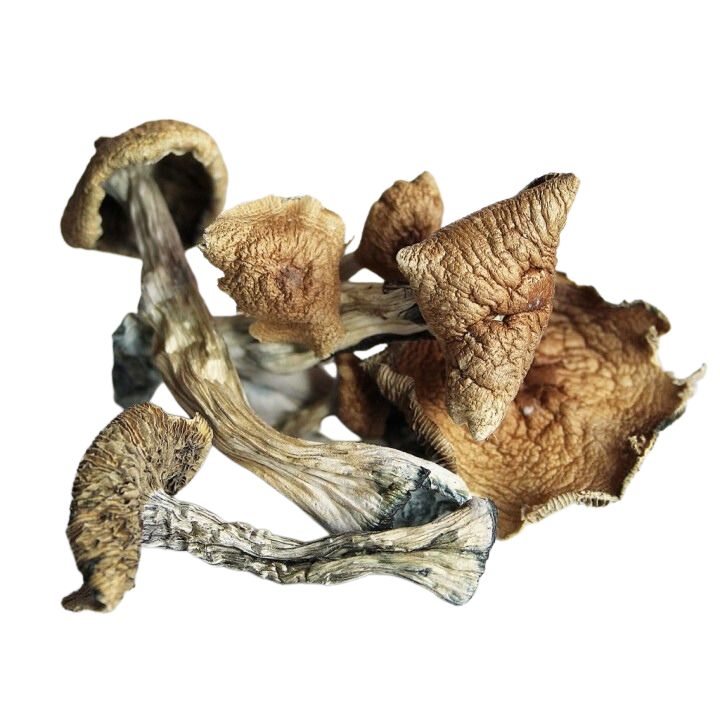
- 42 grams of cracker-dry Psilocybe cubensis mushrooms. This also may be more than you need, depending on the size of your molds.
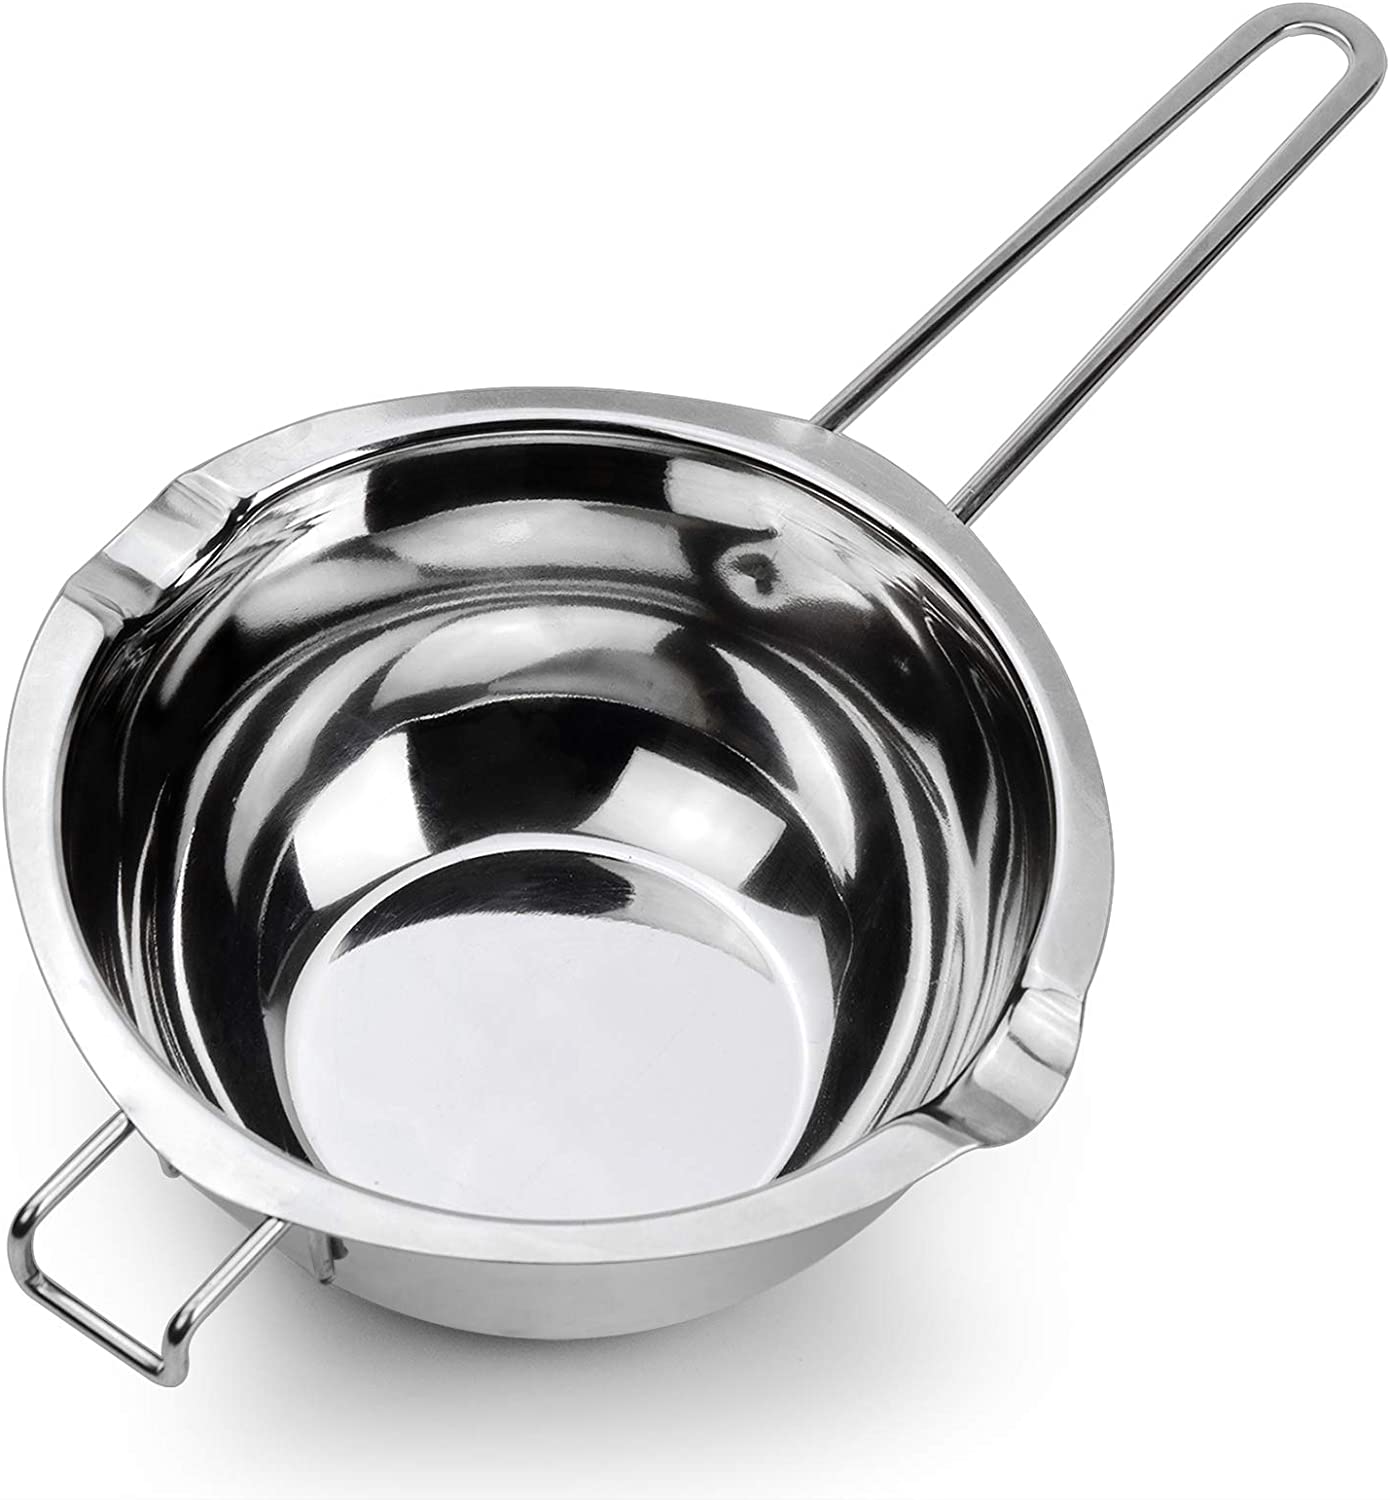
- A double-boiler of appropriate size (you can improvise one with a saucepan and a bowl)
- A candy thermometer
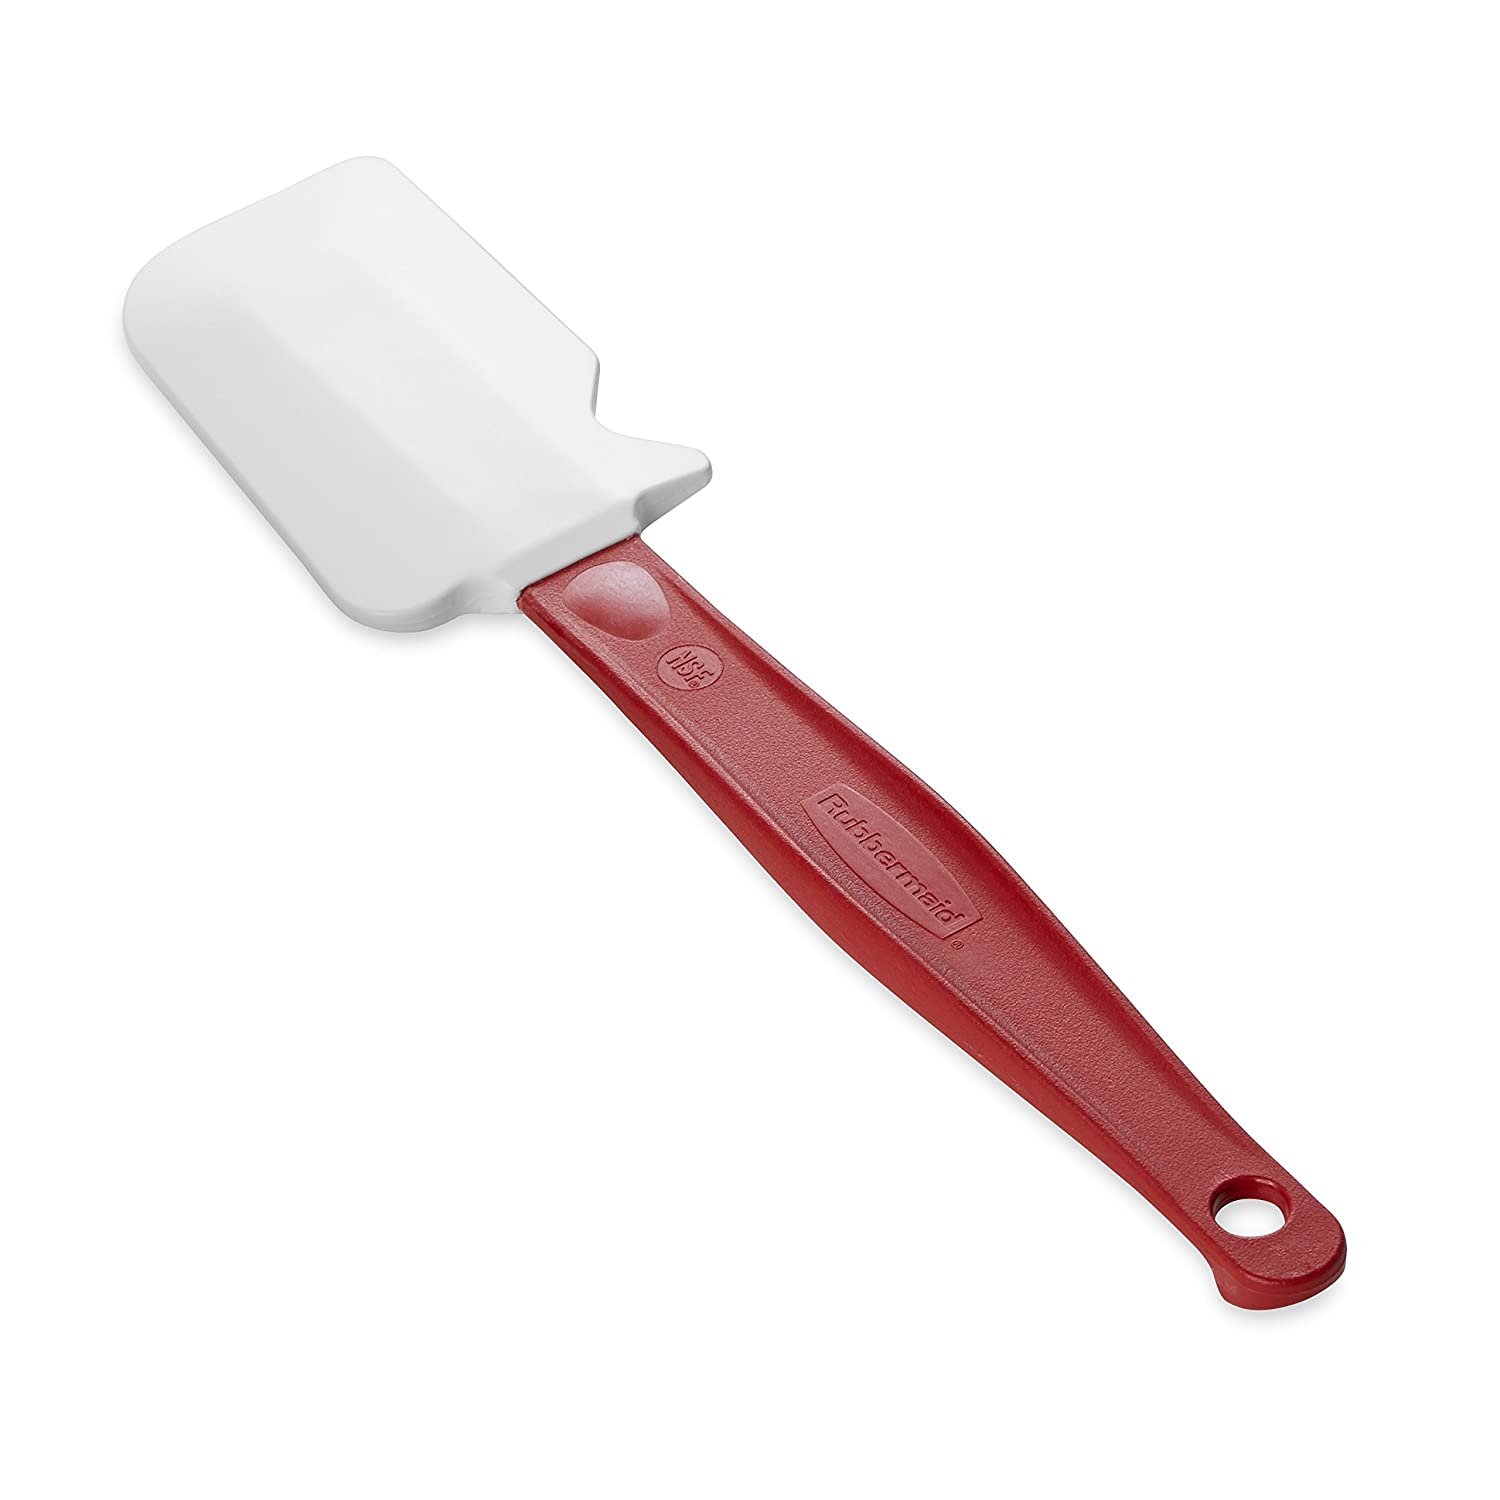
- A rubber spatula
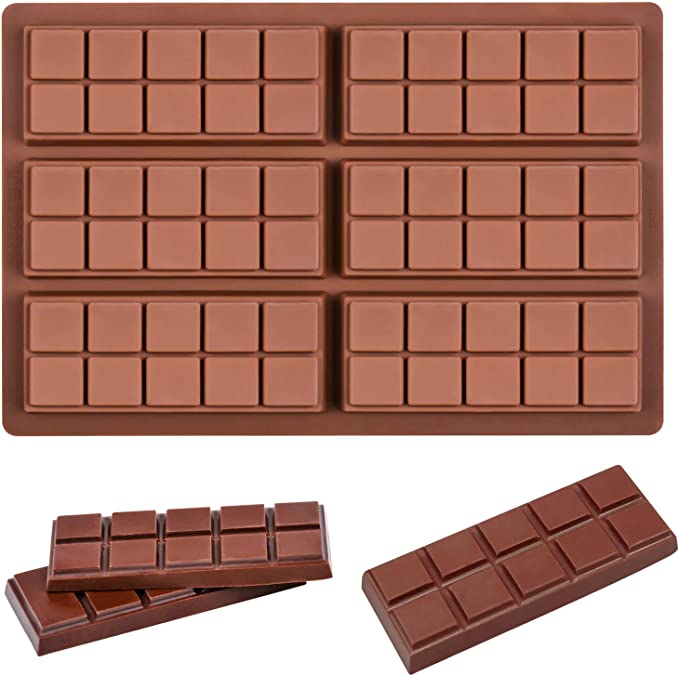
- Candy molds (note the plural, you’re making two pounds of candy)
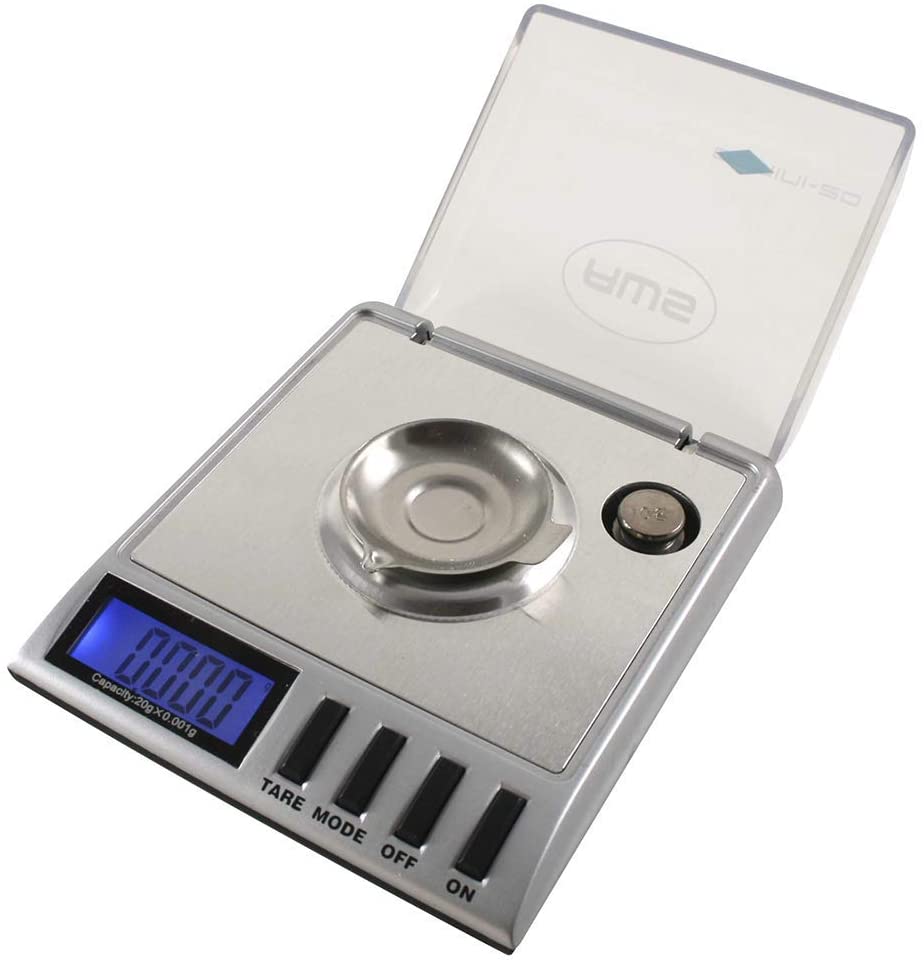
- A scale that measures in tenths of a gram
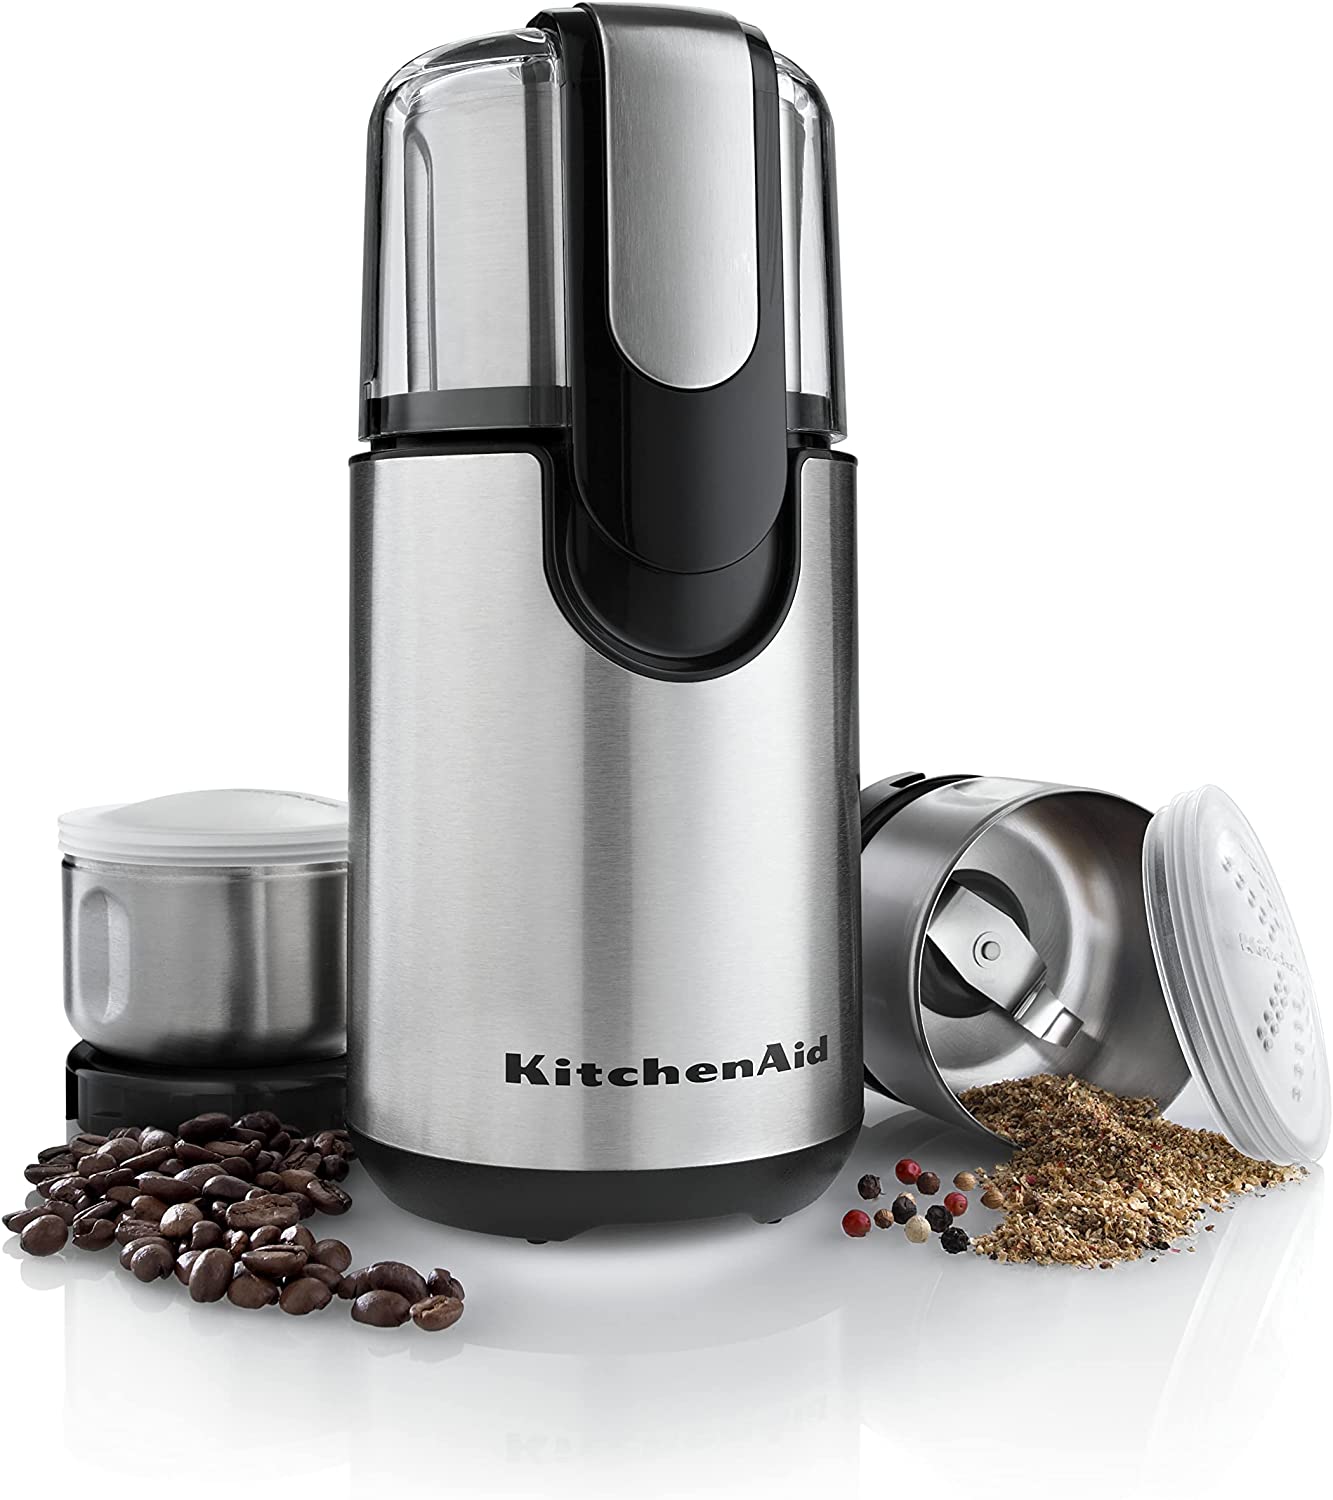
- A grinder or mortar and pestle, or whatever you like to pulverize mushrooms with
- A working stove and freezer
- Wax paper or similar surface
- Foil or other decorative wrapping for the candies (optional)
Step by Step Instructions
The first step is to work out dosage.
- Decide how many chocolates you want to make. The number of chocolates you can get from two pounds of chocolate depends on the size of your molds.
- Decide how much mushroom you want per candy. This recipe is assuming 1.4 grams per chocolate, but you might want more or less.
- Multiply the per-candy mushroom amount by the number of candies you’ll make. The result is how much mushroom you’ll add to the mix. 42 grams is a rough estimate, but you’ll need to get it exact.
- Figure out how much chocolate you’ll need, exactly. Two pounds is a rough estimate that many or may not divide evenly into the number of chocolates your molds can make.
The simplest way to do Step 4 is to make a non-mushroom batch of chocolates and see how much the molds take, although you may have to remove a little chocolate to account for the volume of the mushroom you’re going to add next batch. Of course, by this method you’re going to have a lot of chocolate around the house. That may or may not be a problem.
Anyway, the point is to get your chocolate/mushroom ratio where you want it. Once you’ve gotten that calculated, you can start your batch of magic mushroom chocolate.
- Weigh out your chocolate and your mushrooms.
- Grind your mushrooms and set them aside.
- Separate out a third of the chocolate and set it aside.
- Melt the rest of the chocolate in a double-boiler while stirring constantly. Use the candy thermometer to make sure the chocolate does not get hotter than 120° F. Make sure to use the double-boiler correctly, or the chocolate could burn. Make sure not to get any water in the chocolate.
- Remove the inner piece of the boiler from the heat (keep the water simmering) and wipe the hot condensation off the bottom. Stir the remaining chocolate into the resr a little at a time until it is all melted.
- While stirring, let the chocolate cool to 82° F.
- Put the inner boiler back in the hot outer-boiler and reheat the chocolate to 91° F. Keep it between 88° and 91° until you put it in the molds.
- Spoon out a little chocolate and spread it on the wax paper to cool. If it hardens quickly without pale streaks and has a glossy finish, congratulations, you just tempered chocolate! If not, repeat the tempering process.
- Mix the mushroom into the tempered chocolate. Mix thoroughly—you don’t want the amount of mushroom to differ from one part of the batch to the next.
- Fill the molds with the chocolate mix. Be careful not to spill any and to put the same amount in each. Consistency of product is key.
- Freeze until solid and easy to pop from the molds. If some chocolate sticks to the mold, chill for longer.
- Wrap, if desired.
Congratulations, you just made magic mushroom chocolate! Do be sure nobody mistakes it for ordinary chocolate, won’t you?
References:
[i] GratefulEd (2016). Beautiful Chocolate Mushroom TEK to Spread the Love. Shroomery
[ii] PirateSwazey (2012). Simple Shroom Chocolate Tek. Shroomery
[iii] Sargent, M. (2023). How to make Magic Mushroom Chocolate. Zamnesia
[iv] Chu, A. (2009). How to Temper Chocolate. Epicurious


