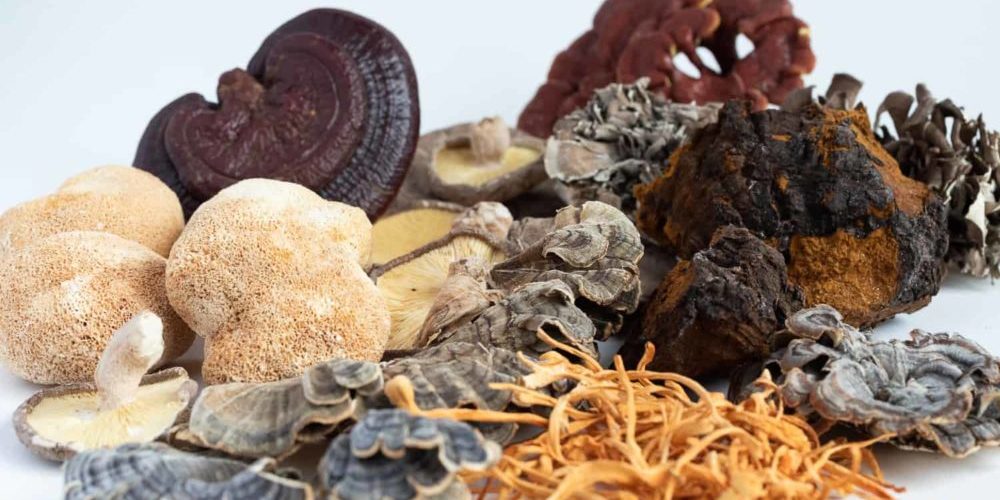
Contamination can be a real problem with mushroom cultivation—it’s like the problem of weeds in a vegetable garden, except that once bacteria or mold get into a mushroom grow, there is no way to pull them out again. You just have to start over. If you’re just inoculating jars with syringes of liquid culture purchased from someone else, preventing contamination can be a simple as using a pressure-cooker and a lighter. But if you’re working with agar or making your own liquid culture or otherwise exposing living fungal material to the open air, the risk can be very high. Strict hygiene becomes the necessity and sterile working conditions the ideal.
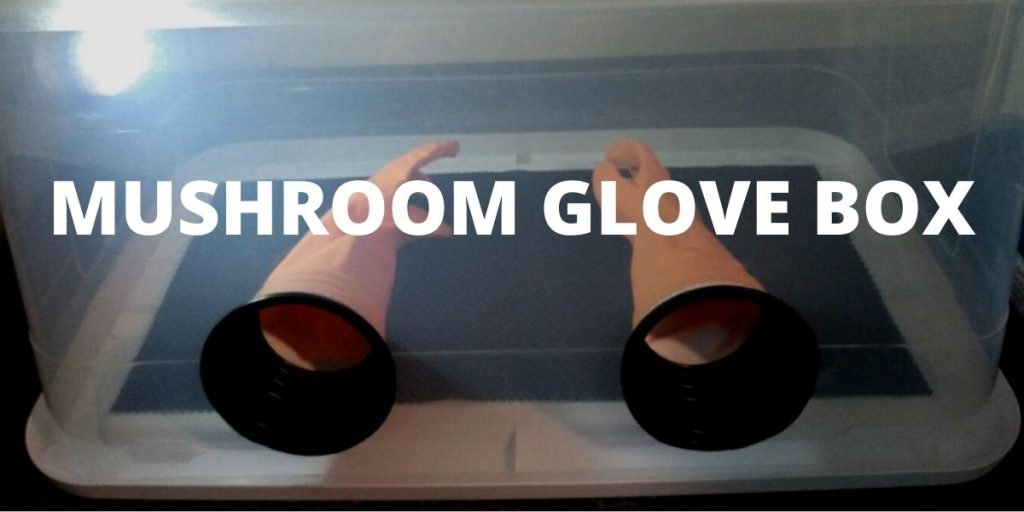
That’s when a mushroom glove box comes in handy.
What is a Glove Box?
A glove box is, essentially, a box with an air-tight lid and two holes in the side where gloves are permanently attached to the rims of the holes so you can put your hands in the gloves and reach in to work without allowing any air exchange between the inside of the box and the rest of the world. The idea is that you completely sterilize the box and then close it up so it stays sterile while you work. These boxes are used for mushroom growing, medical research, and any other application where either keeping contaminants out or keeping fumes or infectious agents in is critical. Professionally-made glove boxes can be purchased, but it’s not difficult or expensive to make one at home[i]. Basically, you build a still-air box[ii][iii] and add gloves.
Other Work-Area Options
A glove box is not the only option for making a small, sterile working area. There are also still-air boxes and laminar flow boxes. Plus, some people have an entire “clean room,” a good option for those growing very large crops (for example, culinary mushrooms in quantity for sale to restaurants and grocery stores) whose early stages don’t fit in boxes of any type.
Still-air boxes are not sealed; some air can get in and out, but because the enclosure minimizes air movement, the chance of a stray puff of air depositing contaminants in your project is extremely low. A laminar flow hood[iv] also isn’t sealed. Instead of preventing air movement, the flow hood controls air movement, so that air only moves through in one direction. Laminar flow hoods used for mushroom cultivation have an intake duct with an air filter on it so that clean air enters the workspace and then exists towards the user. A flow hood desired to protect the worker from the project (for example, if the work involved toxic fumes) would move the air the other way, drawing it in past the user and then sucking it out through a filter.
Glove Boxes Vs. Other Options
Frankly, most growers don’t use glove boxes. They use still-air boxes or laminar flow hoods. A glove box is a great option for a project that absolutely can’t have any air exchange at all (for example, a scientific experiment that can only be conducted in an atmosphere of pure nitrogen), but it’s not usually necessary for mushroom cultivation, and does have some drawbacks: working through the attached gloves is uncomfortable, tempting users to hurry and possibly make mistakes; gloves can cause clumsiness, another source of mistakes; the moving gloves in the sealed box can cause a lot of air currents, so if any contaminants are present, a stray breeze can easily carry them where they shouldn’t go; and flame cannot be used inside a glove box.
That being said, glove boxes do work when used properly, and some growers prefer them.
How to Make a Glove Box
Materials Needed
While professionally-made glove boxes can be very intricate pieces of machinery complete with filters and valves and so forth, a basic glove box actually requires very few materials and very few steps to make.
- A large, very clear plastic tote with an air-tight lid. This is the box I use, it’s high quality and air tight.
- An empty metal tuna can with its label removed.
- A flat self-heating device, like a hot plate. I use this induction cook top.
- An oven mitt. Anything will do.
- A Sharpie pen. Anything will do.
- A small, metal file. Anything works.
- A pair of dish-washing gloves—these should be as long as possible, but they should not be over-sized on the hands, or they’ll be too difficult to work in. Just get a six pack of these in case they rip, which they are prone too.
- Glue. I love Gorilla Glue.
- Sealant. Gorilla has Sealant too.
Step by Step Instructions
Take the following steps in an area with plenty of ventilation, as you will be melting a little plastic and do not want to breathe those fumes.
- Turn the box so its lid is at the back, not on top. What used to be its bottom will now be its front.
- Use the tuna can and the Sharpie to trace two circles in the front—put them fairly low-down so that when these become arm-holes you can rest your elbows on the table while working in the box.
- Use the hot-plate to heat up the rim of the can hot enough to melt plastic. That’s hot enough to cause severe burns, so use the oven mitt to handle the hot can.
- Pick up the can and press its rim into the front of the tote over one of the traced circles while twisting slightly. The circle of plastic should pop right out.
- Repeat the last two steps for the other hole.
- Once the plastic is cool, use the file to make sure there are no sharp, jagged places on the insides of the holes.
- Insert the gloves in the holes with just an inch or so of the cuff of the glove sticking out.
- Glue the outside of the end of the cuff to the outside of the box.
- Once the glue has hardened, use the sealant both inside and outside the box around the arm-holes to make the seal between the gloves and the box air-tight.
Note that some people use knives, scissors, or a saw attachment on a drill to cut the arm-holes, but those methods increase the chance that the plastic will split. Safety also gets just a little more difficult.
How to Use a Glove Box
Glove boxes only work when used properly. Begin with good planning. You’ll want to avoid getting all set up with the box sealed shut only to realize you forgot to put some necessary item in there. Likewise, make sure all the containers whose contents you want uncontaminated have lids for when you take them out of the box. Also, you’re going to have a box full of alcohol fumes with no ventilation—under NO circumstances should you use flame inside the box. You’ll have made a small bomb.
Now, planning accomplished, you are ready to get to work.
- Clean the inside of the box thoroughly.
- Disinfect everything that is going into the box (except your spores or other fungal tissue! They should be safe inside containers so that no disinfectant can get on them).
- Put everything needed in the box—including a spray-bottle of rubbing alcohol. Close the lid air-tight.
- Put your hands into the gloves so you can work.
- Spray all the interior surfaces and all the objects in the box with alcohol (this is why your fungal material and agar or other sterile substrate needs to be in containers).
- Wait for the spray to settle, then get to work.
References:
[i] Jae (2019). How to Make a Glovebox for Mushroom Cultivation—Cheap and Easy.
[ii] (n.d.). How to Build a Still-Air-Box.
[iii] (n.d.). How to Make a Still Air Box.
[iv] Burdg, J. (2019). Laminar Flow in the Laboratory: What You Need to Know. Labconco