Agar-agar is the name of a particular type of marine red algae. It’s a standard source of plant-based gelatin for all sorts of applications. One popular use—and usually what people mean when they say “agar,” is for making growth medium for petri dishes[i].
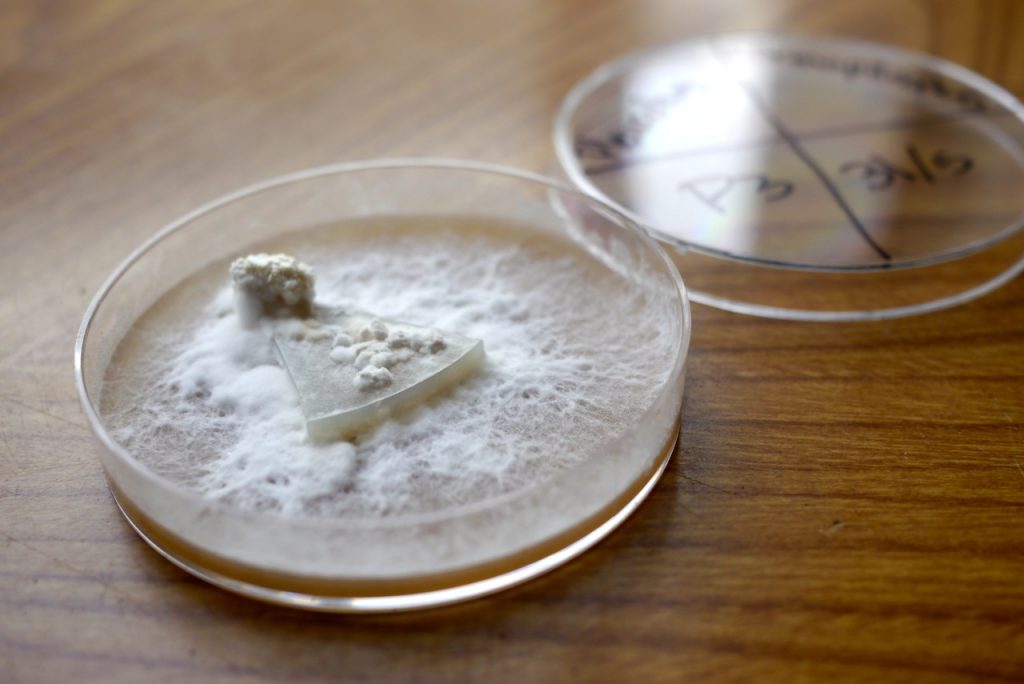
A petri dish is a low, flat-bottomed plate with a lid. They are used as a place to grow small amounts of microscopic or near-microscopic organisms for study or for other purposes. Because the dish is so wide relative to its depth, it’s easy to see colonies of these organisms expand and change—unlike with, say, a jar of growth medium, where you can’t really tell what is going on in there unless something spreads up against the glass.
The seaweed extract is mixed with some kind of nutrient source and sometimes other substances, then poured into the dishes. Once the agar mix sets, you have a thin layer of hard gelatin that won’t spill or splash as you move the dishes around.
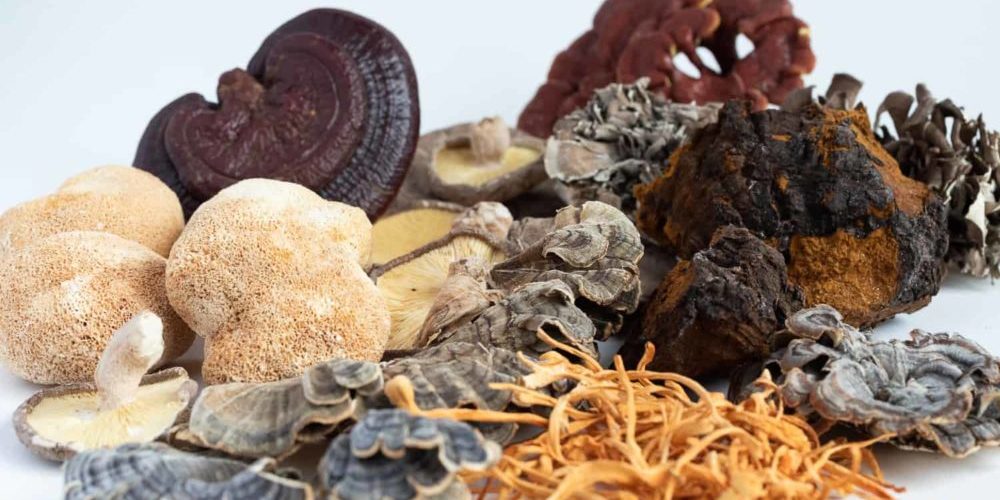
Agar plates are used in mushroom cultivation to clone mushrooms (that is, to grow a new mycelium from a piece of fruiting body) or to germinate spores. Yes, it’s possible to germinate spores in a jar, too, but on a petri dish you can see right away if germination has occurred, you can study the young mycelium, encourage it to mate with other mycelia, and identify and isolate the strains you want. Once you have the strain you want established and isolated, you can use it to inoculate grain spawn or some other medium.
Using agar is considered a bit of an advanced technique because if you make a mistake, contamination is basically certain. Also, hobbyists just getting into mushroom cultivation generally don’t want to do any of the things that require agar work. But eventually, for those who want to develop real expertise, learning to use agar is a necessary step.

What Type of Agar is Best for Mushrooms?
Agar itself, the gelatin, is pretty straightforward; there is only one kind. But to use as a growth medium, the gelatin must be mixed with some kind of nutrient, and the word, “agar” is also used to refer to the different mixes.
These mixes have names such as blood agar or chocolate agar. Blood agar really includes blood as its nutrient source, but chocolate agar does not contain chocolate. It’s made with blood, too, but blood that has been partly broken down and therefore looks brown. Some mixes are good for growing almost anything, some are good for growing difficult-to-cultivate microorganisms, and some allow only certain types of bacteria to grow—one way to identify a bacterial strain (or at least narrow down the possibilities) is to see what kinds of agar plate it does grow on verses the kinds it will not grow on.
For growing fungi, the thing to use is nutritional agar. This can be made with various nutrient sources, including meat broth, yeast extract, and malt, but it’s a generalized growth medium that works for just about anything. Each recipe has its own commonly-used abbreviation (for example, PDA, for potato dextrose agar, or DFA for dog food agar), but these are really all just different recipes for the same thing, which is nutritional agar. The same recipes work no matter which kind of mushroom you’re cultivating. There is no “best agar for P. cubensis,” for example. You choose something that works that’s easy for you to make.
How to Make Agar Plates for Mushrooms
You can buy pre-made agar plates—that is, agar and nutrient already mixed and poured into petri dishes and sealed, ready for use. However, mixing and buying your own is often substantially cheaper, plus pre-made plates usually dry out a little during shipping. They’ll work, but fresh is better.
There are multiple recipes out there, but all of them are pretty simple. Here[ii] is one:
Recipe:
- 20g of plain agar powder
- 20g of barley malt extract
- 2g nutritional yeast
- 1000ml Hot tap water
Needed Equipment:
- A pressure-cooker – This is my favorite pressure cooker.
- A suitable bottle for sterilizing in and for pouring (there should be some kind of vent in the lid to allow pressure equalization during sterilization)
- A mixing bowl – Any will do.
- 50 petri dishes – This is where I get my petri dishes.
- A role of parafilm tape. Any Parafilm tape will do, but this is what I use.
- A sterile work-space (a laminar flow-hood, still-air box, or similar)
Step-by-Step Instructions
- Mix the dry ingredients together
- Add the water (make sure the water is hot; cold water will result in instant gloppy gel that’s hard to work with)
- Transfer the mixture to a bottle that can be safety sterilized in the pressure-cooker and is easy to pour from
- Sterilize the mix (45 minutes at 15 psi in the pressure-cooker) and then allow it to cool enough to handle (but not get cold). This will take about an hour
- Pour the mix into the plates (under sterile conditions!) and allow to cool and set
- Seal for later use—use the parafilm tape.
Note that proper sterile procedures must be used while pouring the agar mix, and must be maintained until the plates are sealed. Spores and bacteria of all kinds love to grow on agar, so contamination risk is very high.
The completed plates will keep in the refrigerator until you can use them.
References:
[i] Quinlan, S. (2018). Types of Agar Plates.
[ii] Shields, T. (n.d.). How to Make Agar Plates for Growing Mushrooms at Home